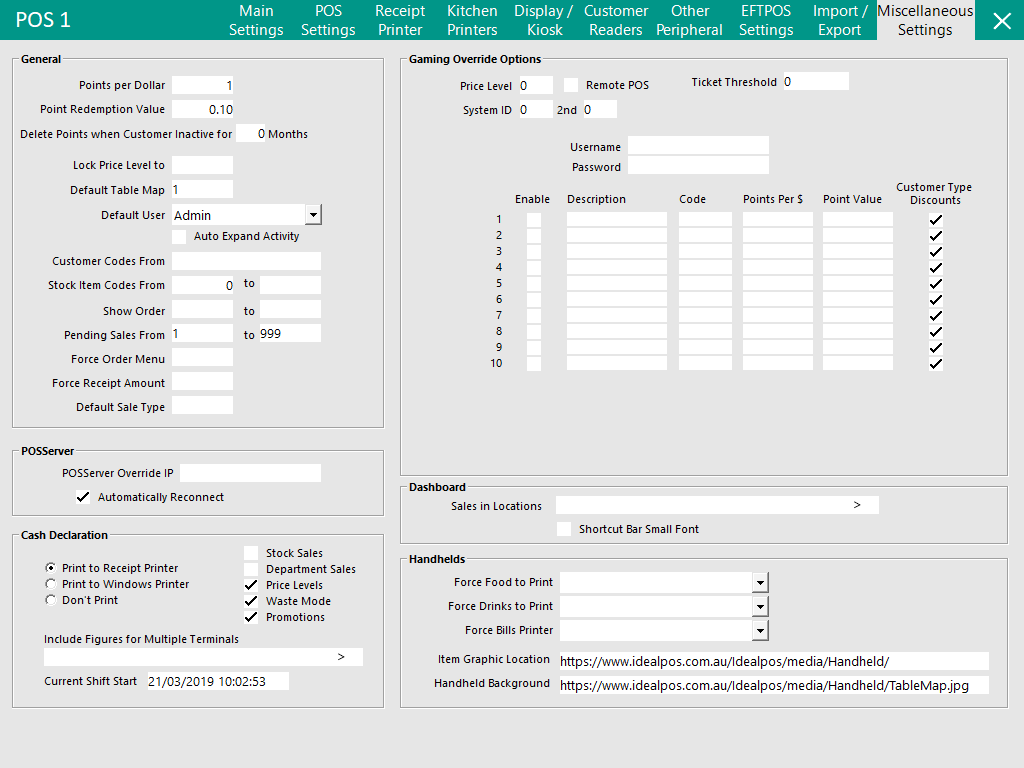
The Miscellaneous Tab is used for configuring various settings that do not belong in any of the other tabs in POS Terminal settings.
There are 6 separate sections within this tab which are listed as follows:
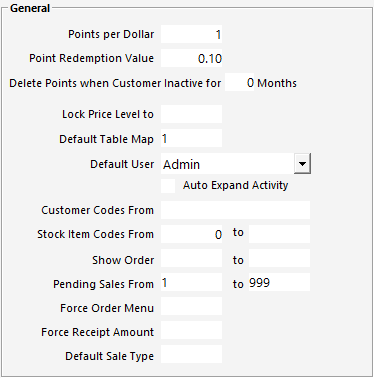
This area will house the different fields that relate specifically to this terminal and cannot be designated as a Yes/No Option.
Points per Dollar - This is the amount of points a loyalty customer will earn for each dollar spent.
Point Redemption Value - This setting specifies what each point is worth to the customer when they redeem their points. If set to 0.10, this means that each point the customer accrues is worth 10 cents (they are receiving a 10% value).
Delete Points when Customer Inactive for # Months - This setting will delete points of any customer which has been inactive for the specified period (an inactive customer is defined as a customer which has not made sales (journal transactions) within the specified period). The default setting is 0 which means this function is disabled and points will not be deleted.
If you have imported any Customer balances and you want to enable this function, we strongly recommend that you wait for the desired number of months to lapse before enabling this setting.
E.g. If you want to delete points when customers have been inactive for 12 months and Customer balances have been imported, wait at least 12 months after importing Customer balances before configuring this setting to 12 months.
We suggest that this setting is configured on the primary/main POS terminal and the points deletion will be handled by the configured POS. Any points deleted by the terminal will be sent as packets to other networked POS terminals so that customer balances are consistent across all terminals.
Points are deleted when Idealpos is started for the first time of each month and the cut-off date used for deleting points is always the 1st day of the month.
Example usage case: Idealpos is configured to delete points when customer inactive for 12 months and the current month is June 2019.
The first time Idealpos is started in the current month of June 2019, the system will use a cut-off date of 1st June 2018 12:00:00AM (regardless of what date in the month of June that Idealpos is started, a cut off date of the 1st June 2018 is used in this particular example).
Any Customers who have not made a purchase after the 1st June 2018 12:00:00AM will have their points deleted. Any customers who have made a purchase after this date will keep their points balance.
Lock Price Level to - This setting will change the default price level to the one entered. This does not need to be set to 1 to allocate the default price level.
Default Table Map - This will open the specified table map when accessed. It does not function without the Restaurant Module.
Default User - This drop down box allows you to select the User that is logged in automatically when the program first opens.
Auto Expand Activity - The Activity Log (if selected to display) will be expanded on the bottom left-hand side of the window. You can tell whether a window is expanded or not by the visual arrows at the end of each shortcut.
Customer Codes From - This setting will start creating Customer Codes from the number you enter.
Stock Item Codes From/to - The range entered in these fields will be used when new Stock Items are created on the terminal via File > Stock Control > Stock Items > Add. Alpha-numeric values can be entered and are supported (e.g. ABC123). It should be noted that when using Alpha-Numeric codes, only the numeric portion of the code will be calculated or incremented. E.g. If the Stock Code length is 6 and AAA is entered into the From field, once AAA999 is reached, the Stock Code will not increment to AAB000.
Show Order - This range will need to be set to the Order Numbers you use. Once the POS has designated all order numbers to the large value, it will resume and start again at the smaller value.
Pending Sales From - When Pending Sales are created they will be allocated a Code. This setting will specify the range the codes can be created for this terminal.
Force Order Menu - When Force Order Entry is configured and items from specific Departments are included in the sale, the Force Order Menu field can be configured to display a POS Screen Menu. Enter the POS Screen Menu Code here and that menu will be displayed when going to the TENDER screen. The Force Order Entry function is outlined in the Order Numbers page.
Force Receipt Amount - It may be a government requirement to force a receipt after a certain dollar value. Enter the value into the field and a receipt will be forced to print regardless of other print options set.
Default Sale Type - This field is optional and can be used to set a Default Sale Type that will apply to every sale that is performed on the POS Screen. If this functionality isn't required, leave this field as blank. To enable this function, enter the Sale Type slot number between 1 and 9 which will be used as the Default Sale Type. The numbers 1 to 9 correspond to the row number of the Sale Type Status configured in Global Options > Sales > Sale Type Status, with the first Sale Type Status being 1 and the last Sale Type Status being 9. The Sale Types are configured in Back Office > Setup > Global Options > Sales > Sale Type Status. Click here to go to the Sale Type Status section within the Global Options - Sales topic.
If you want to allocate each terminal its own POSServer across multiple Locations this is where you set the IP.
Automatically Reconnect - This option will attempt reconnection if the connection is closed for any reason.

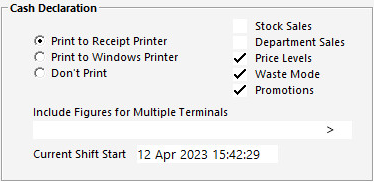
The settings that are configured in this section will allow you to control the behaviour of the End of Shift/Cash Declaration functionality, as well as enable you to control which sections are printed on the Cash Declaration.
It is not possible to select printer choices at the time of performing an End of Shift.
Print to Receipt Printer - Selecting this will force the End of Shift to print to the Default Receipt Printer.
Print to Windows Printer - Selecting this will force the End of Shift to print to the default Windows Printer.
Don’t Print - Selecting this will not print any details of the End of Shift.
Stock Sales - When this option is enabled, the Cash Declaration will print a listing of all Stock Items that were sold during the clerk's shift. Depending on the number of Stock Items sold during the shift, this can increase the length of the report significantly.
Department Sales - When this option is enabled, the Cash Declaration will include a list of all the Departments from which Stock Items were sold during the clerk's shift.
Included in the Department Sales section is the quantity of items sold from each Department, as well as the total sales amount for each Department.
Price Levels - When this option is enabled, the Cash Declaration will include a list of all the Price Levels that were used during the clerk's shift, the quantity of items that were sold using each Price Level, and the total sales amount of each Price Level.
Waste Mode - When this option is enabled, the Cash Declaration will include a list of all the Waste Mode transactions that took place during the clerk's shift, including the Stock Items and quantities that were written off/wasted.
Promotions - When this option is enabled, the Cash Declaration will include a list of all the Promotions that were triggered and applied to sales during the clerk's shift.
Click here to see an example End of Shift/Cash Declaration Docket when all sections are enabled
Click here to see an example End of Shift/Cash Declaration Docket when all sections are disabled
Note!
The following options are enabled after upgrading from older versions/builds of Idealpos:
- Price Levels
- Waste Mode
- Promotions
Include Figures for Multiple Terminals - Before configuring this function, we recommend that you finalise any shifts currently in progress via the End of Shift function.
When this field is populated with POS Terminal Codes, the sales figures from those POS Terminals will be included on this POS Terminal's End of Shift Cash Declaration.
This means that the Clerk which performs an End of Shift on this POS Terminal will need to count the cash from all POS Terminal Codes (that are entered in this field), and they'll need to enter those counted amounts into the End of Shift/Cash Declaration screen on this terminal.
When configuring this option, ensure that you include this POS Terminal's Code along with the other POS Terminal Codes that you want included on this Terminal's End of Shift Cash Declaration.
When this option is populated with POS Terminal Codes, those POS Terminals will lose the ability to perform End of Shift (performing an End of Shift on this terminal will essentially end the shift on all POS terminal codes that are entered in this field).
It should be noted that POS Terminal Codes entered into the Multiple POS Terminal list for Cash Declarations cannot overlap with other POS Terminals.
E.g. Each POS Terminal has the capability of configuring a Multiple POS Terminal list for Cash Declarations.
Once a POS Terminal has been added to a POS Terminal’s Multiple POS Terminal list for Cash Declarations, it cannot be entered into any other POS Terminal’s Multiple POS Terminal list for Cash Declarations.
Finally, it is important to note that when performing an End of Shift with this option configured, ensure that all packets from the other terminals have been received and processed by this terminal.
Note that this function is NOT compatible with these Yes/No Options (these options must be disabled).
- Employee to Choose Drawer when logging in
- Delay Cash Declaration Count
- Inhibit ability to End Shift on Different POS (this Yes/No Option must be disabled on the POS Terminal(s) that are including other POS Terminal's figures)
For more information about End of Shift, refer to the End of Shift topic.
Current Shift Start - This field will contain the Date and Time that the current shift commenced on this POS Terminal.
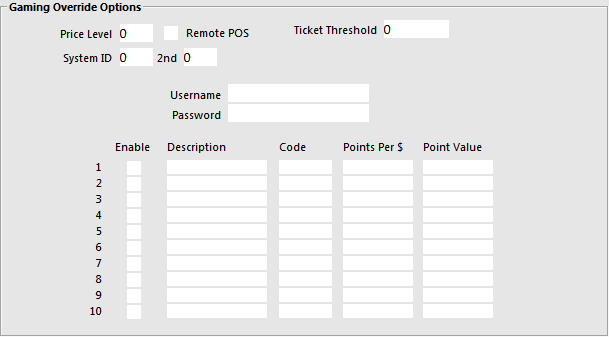
Gaming is a third-party loyalty software program used mainly for hotels and clubs.

Sales in Locations
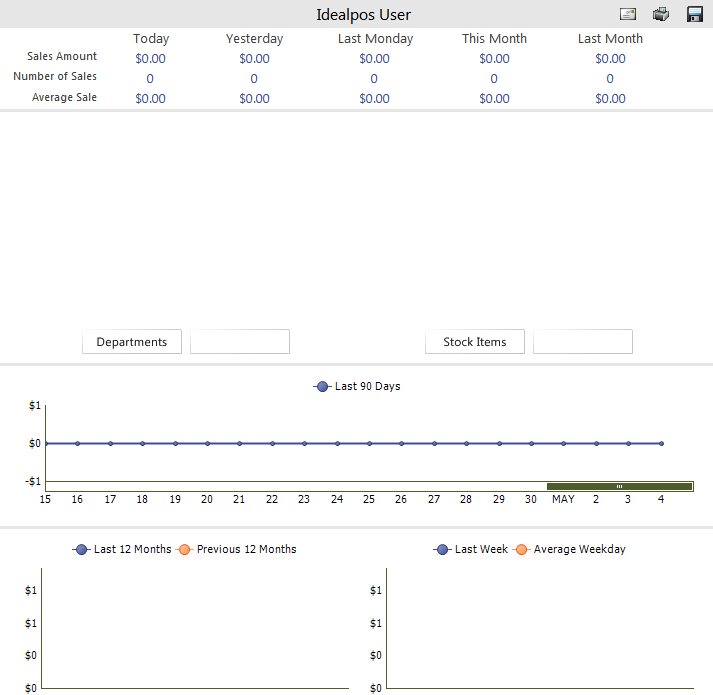
It is possible for the dashboard on a POS Terminal to only show data for a specific Location.
This will allow your dashboard to not display locations unless you want them to.
The Dashboard will only display sales from the selected locations on that POS Terminal.
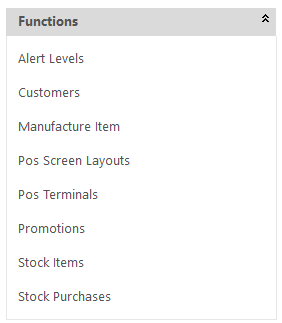
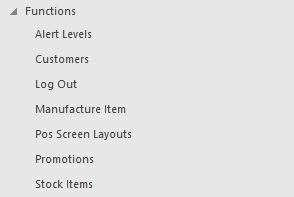
Shortcut Bar to use Small Font
This function will allow you to change the size of the font when you are using a lot of shortcuts on the Dashboard.
After changing this setting, you will need to enter then exit the POS Screen, or restart the program for the change to take effect.
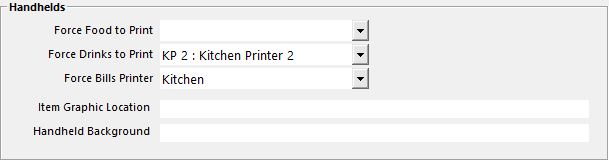
These settings allow you to force all orders to be printed from the Handhelds only to a specific printer.
Force Food to Print and Force Drinks to Print can both be forced to print their respective items to the relevant printers.
The Force Bills Printer setting forces the bill for a table to be printed to a specific printer when the Print Bill button is pressed on the Handheld app.
Note!
When selecting a Kitchen Printer in the above Force Food/Drinks to Print settings, your Food and/or Drink Stock Items will be forced to print to the selected printer(s) in addition to the existing Kitchen Printers that have been enabled within those Food and/or Drink Stock Items.
Also note that Idealpos determines whether a Stock Item is a Food or Drink Item based on the status of the checkbox "Add to FOOD Total" or "Add to BEVERAGE Total" in the Sales Category that the Stock Item is linked to (configured via Back Office > File > Sales > Sales Categories).
I.e. If the "Add to Food Total" or "Add to BEVERAGE Total" checkbox is enabled and the above Force Drinks/Food to Print Settings are configured, then Stock Items linked to that Sales Category will be Forced to Print to the selected Kitchen Printer.
To use Item Graphics and Table Map (Handheld Background) images, they need to be hosted on the web.
Link to their locations so they can display on the iPad app using v7 features.
Item Graphics will only display for POS Screen Tabs and Menus when the images are the named the exact same as the Tab or Menu you want them to represent. Beer.jpg for Beer, etc.